How to Make Stickers with Cricut Explore Air 2?
Are you searching for how to make stickers with Cricut Explore Air 2 process? With god’s grace, one of the best cutting machines completes this process within a few minutes. Among the rest of the Cricut’s, this DIY cutting machine is suitable for creating various projects for personal or professional purposes. Moreover, this version also offers a wide range of tools & accessories for users.

With just a few
clicks, this craft plotter connects wirelessly with Desktop & mobile
phones. You can also create different kinds of designs & projects by
accessing Design Space software. You can create the sticker as your wish,
depending on the color, size & pattern. In the following paragraph, you
will learn about the steps around the sticker-making process.
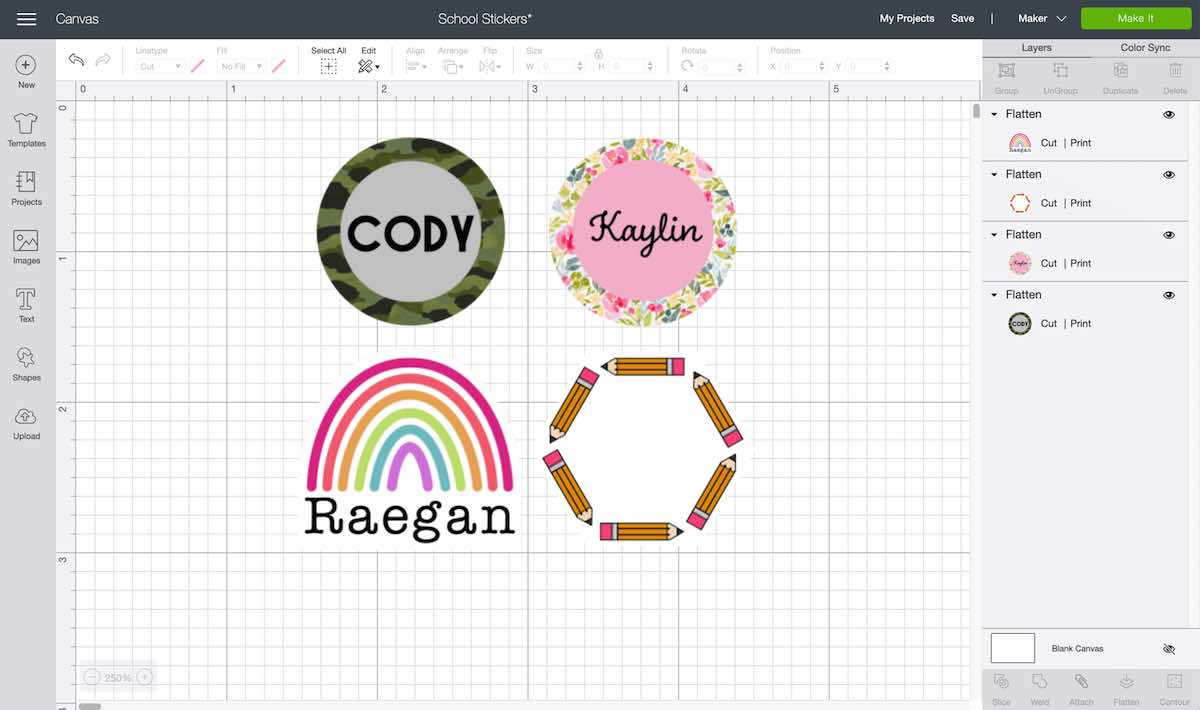
Step 1:
Create a Design on the Cricut App
- First, you have to open Cricut software and press the New Projects option.
- Insert the Template, Shape or Printable Image from the
available library and modify its size.
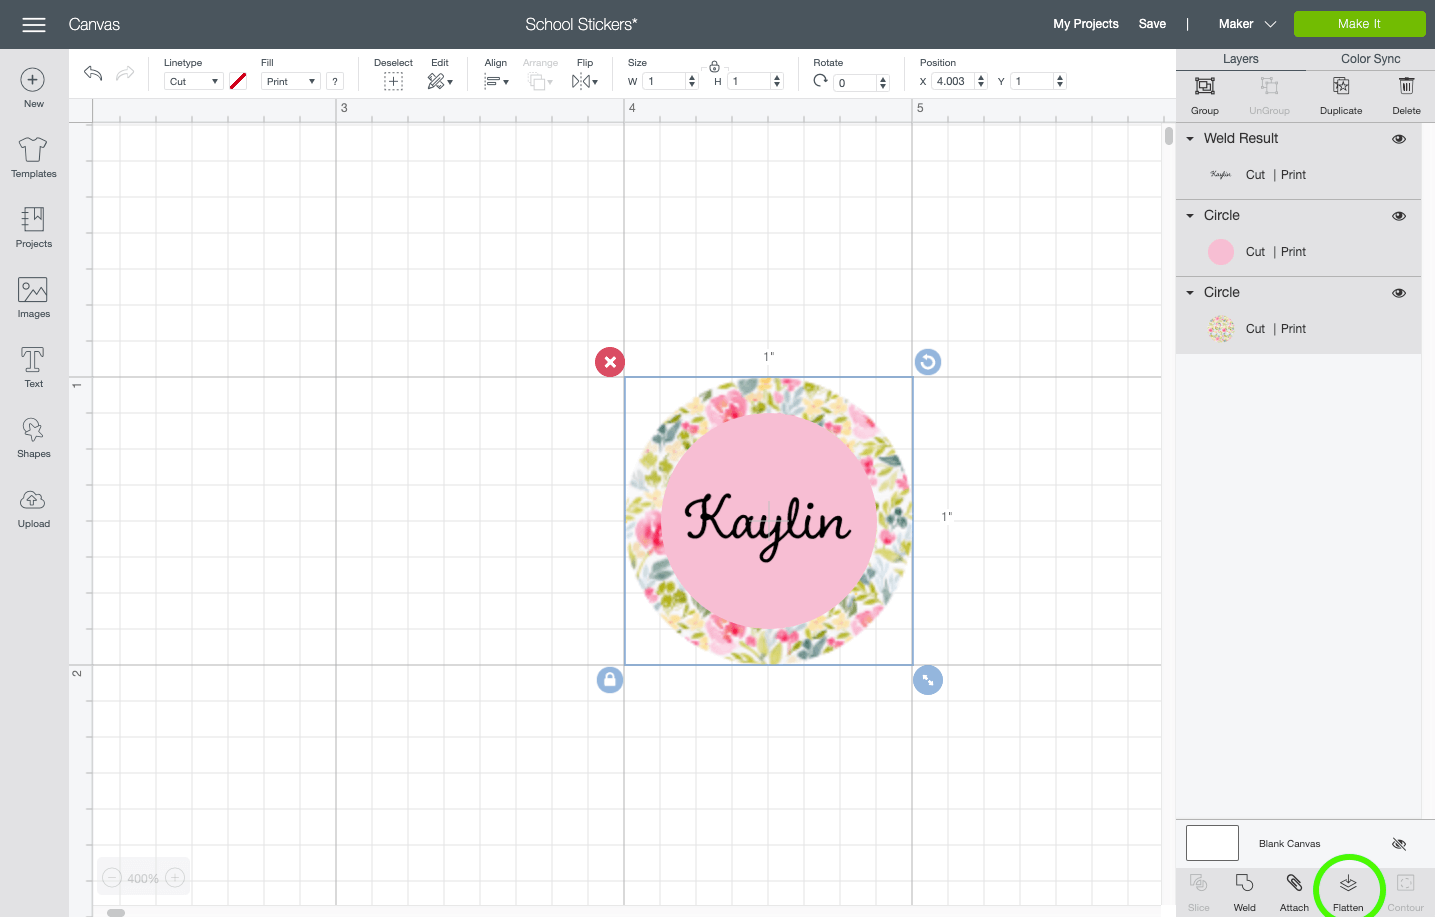
- Now, with the item chosen, change the fill to Print & choose the color or
pattern as per your preference.

- Once the designing process ends, ensure that each element has
its fill set to Print.
- After that, choose the complete design and tap the Flatten box. Keep repeating the
process till you get the final design.

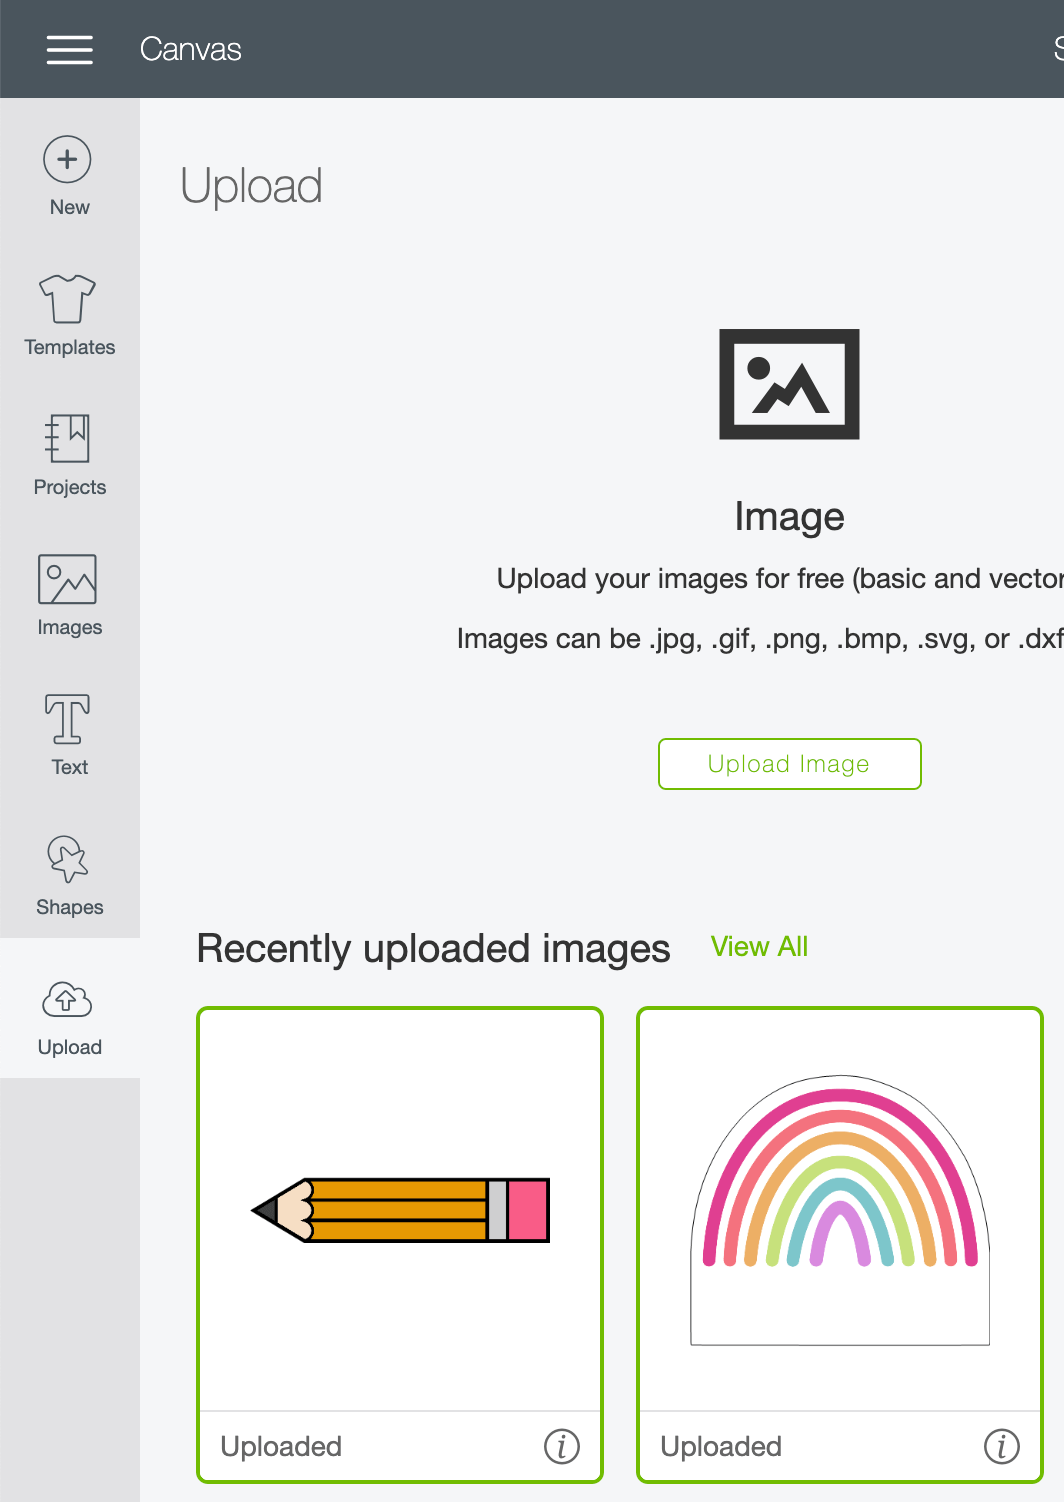
- Other than that, you can also upload the images from the Upload Image page.
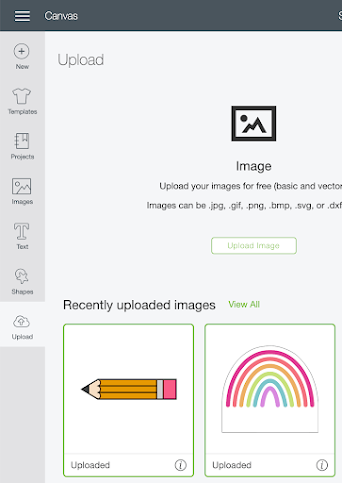
- Followed by pasting the image back to the app; you can add text
by using the Text tool.
- You are advised not to flatten each design uploaded on the
canvas.

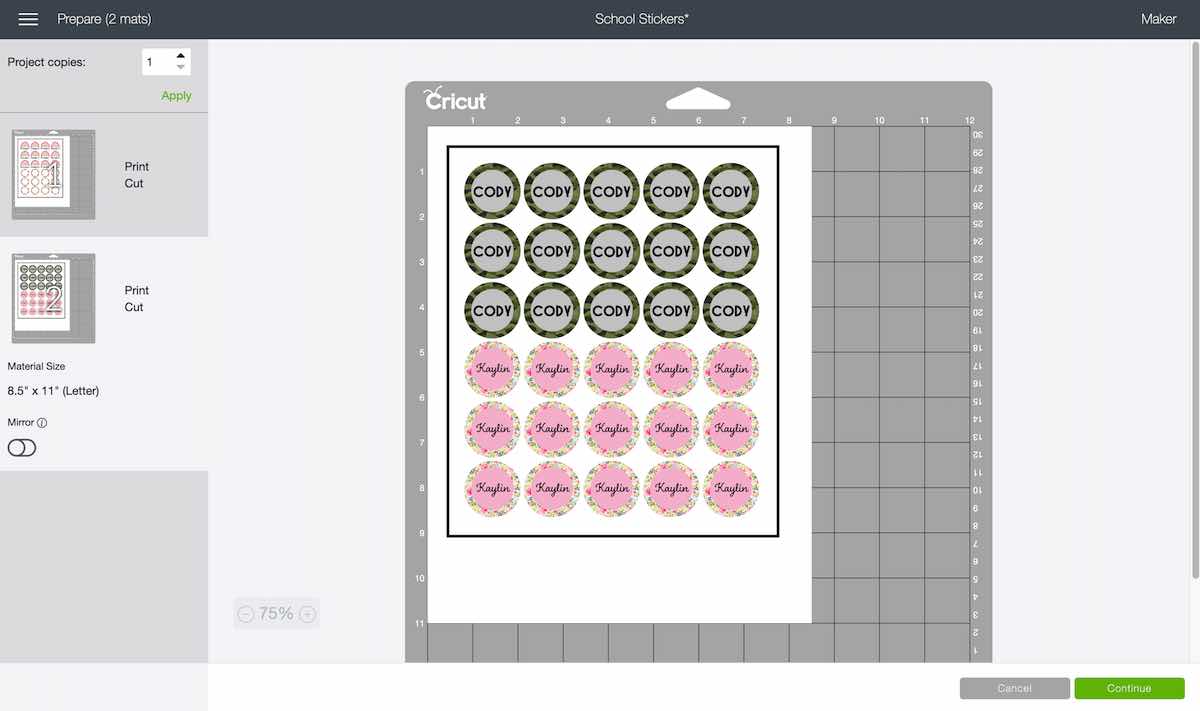
Step 2:
Decide Quantities
- You can duplicate the design or change the number of
copies depending on the design size & shape.
- Moreover, you can also change the material sizes and
enable the mirror toggle.
- Besides finishing the above two steps, press Continue, visible on the right
side of the screen.

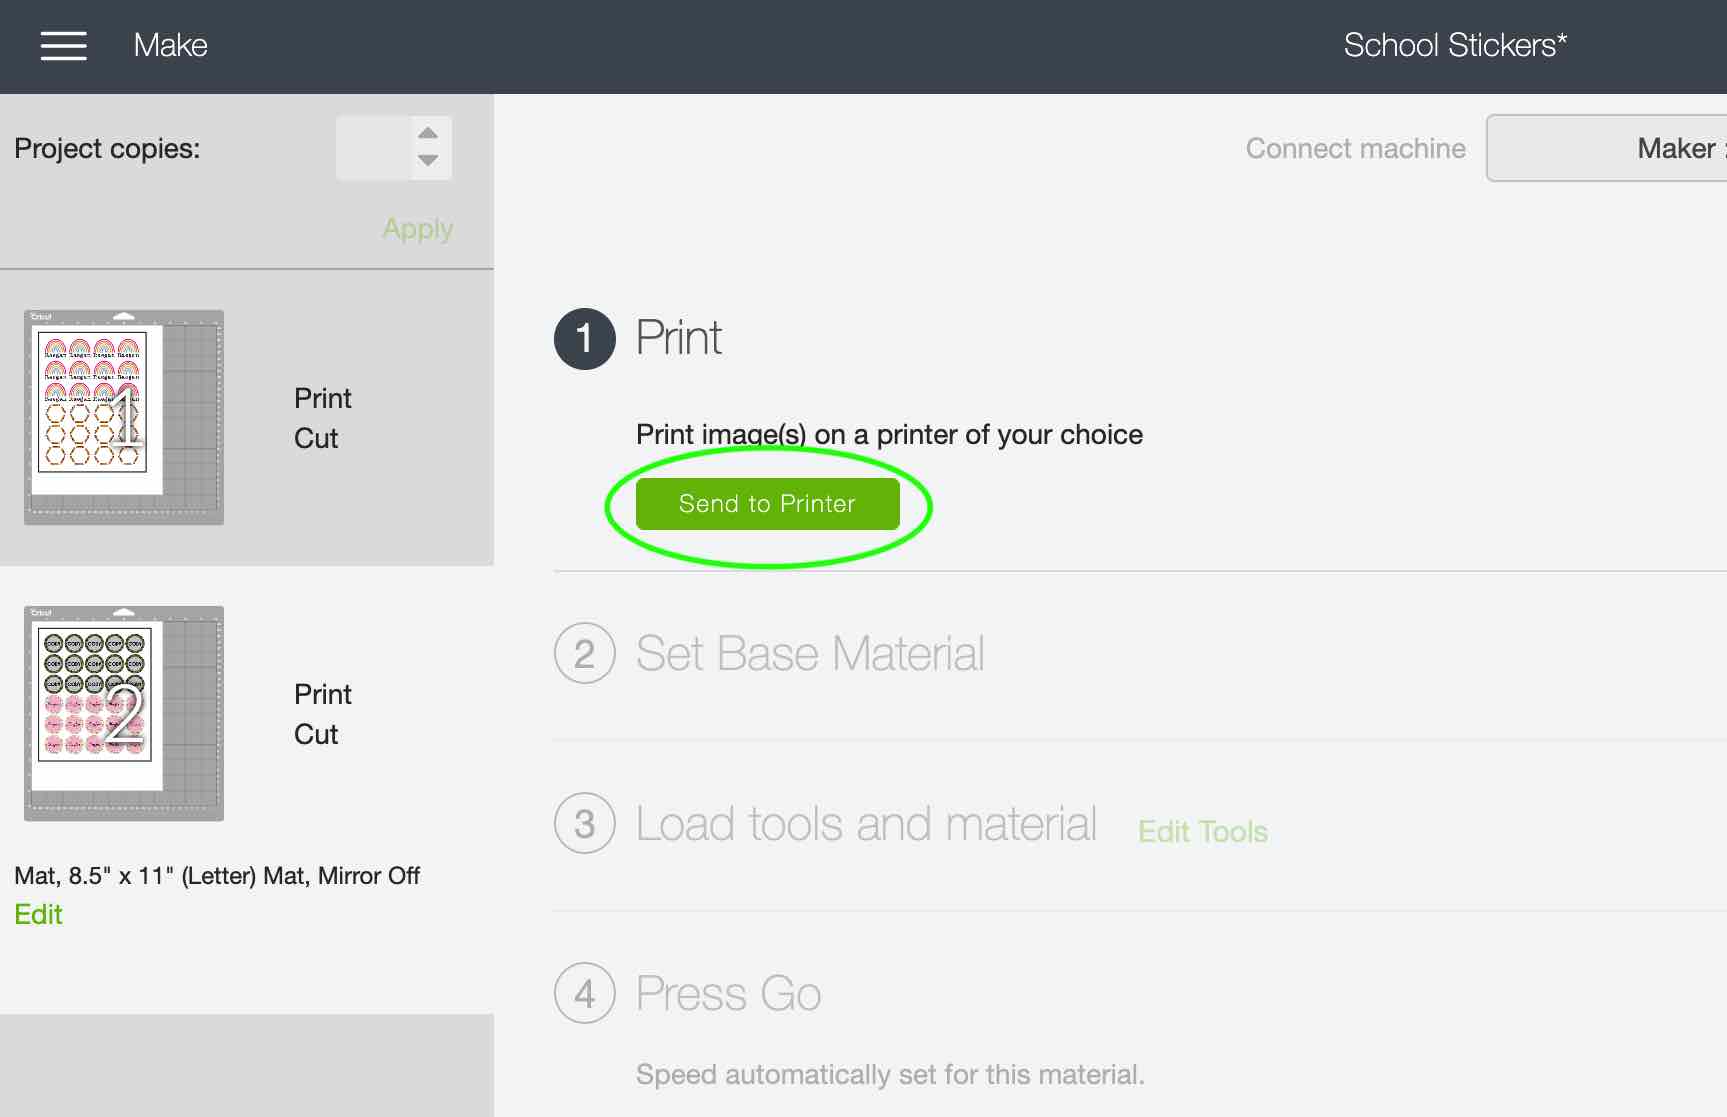
Step 3:
Design Print Out
- Following the modification of designs & sizes, it’s time to
proceed to the next step.
- Now, you will be reconnected to the Canvas and tick the Make It box.
- Furthermore, load the selected material into the available
printer.
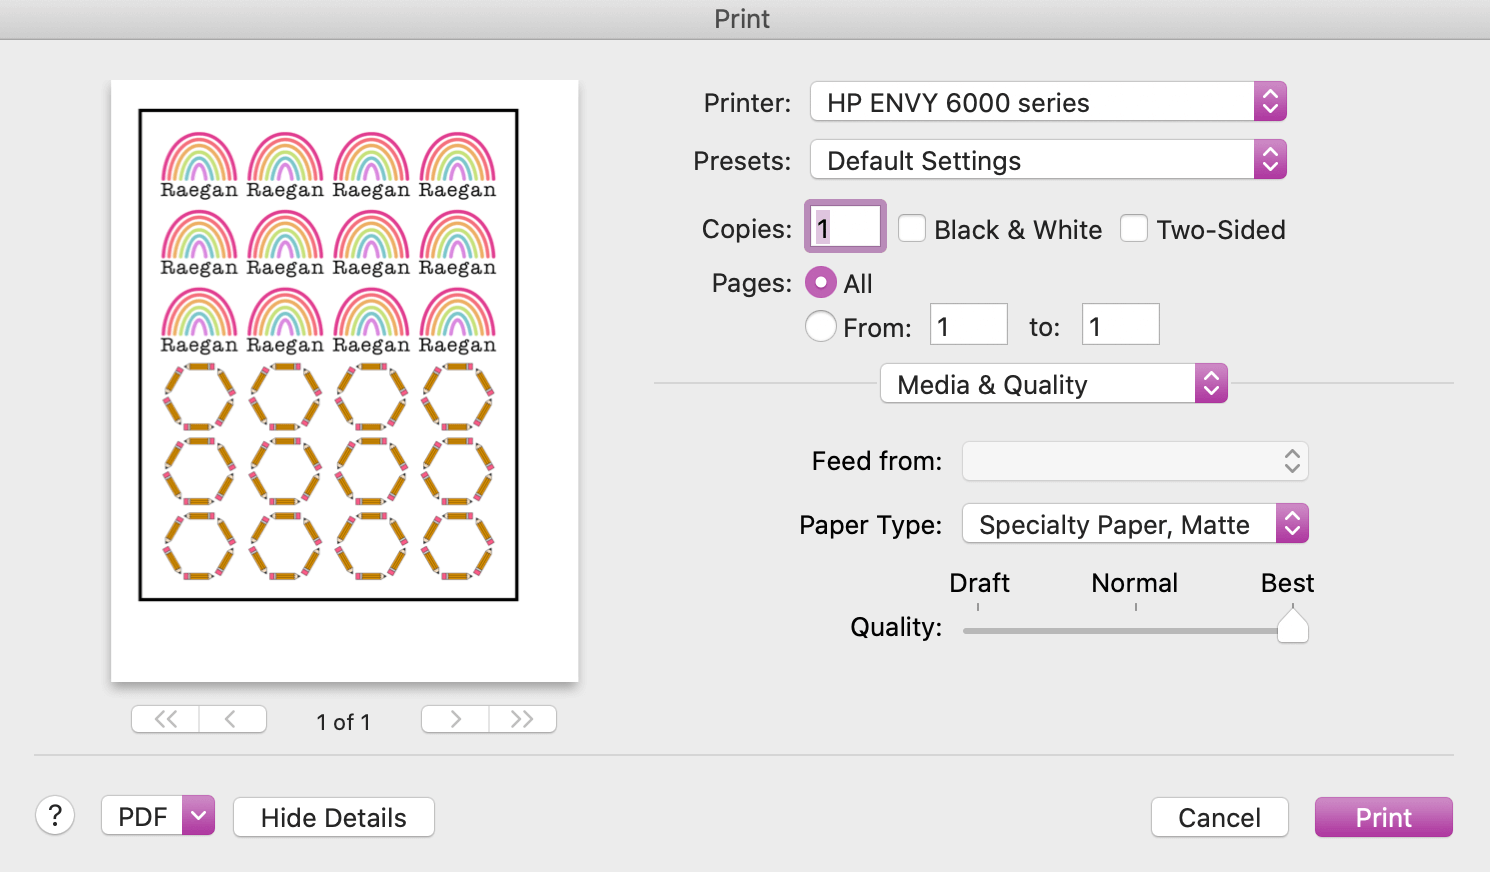
- Tap the Send to Printer,
and a pop-up box will open on your screen.

- Inside the pop-up box, enter the asked details and tick the Print button.

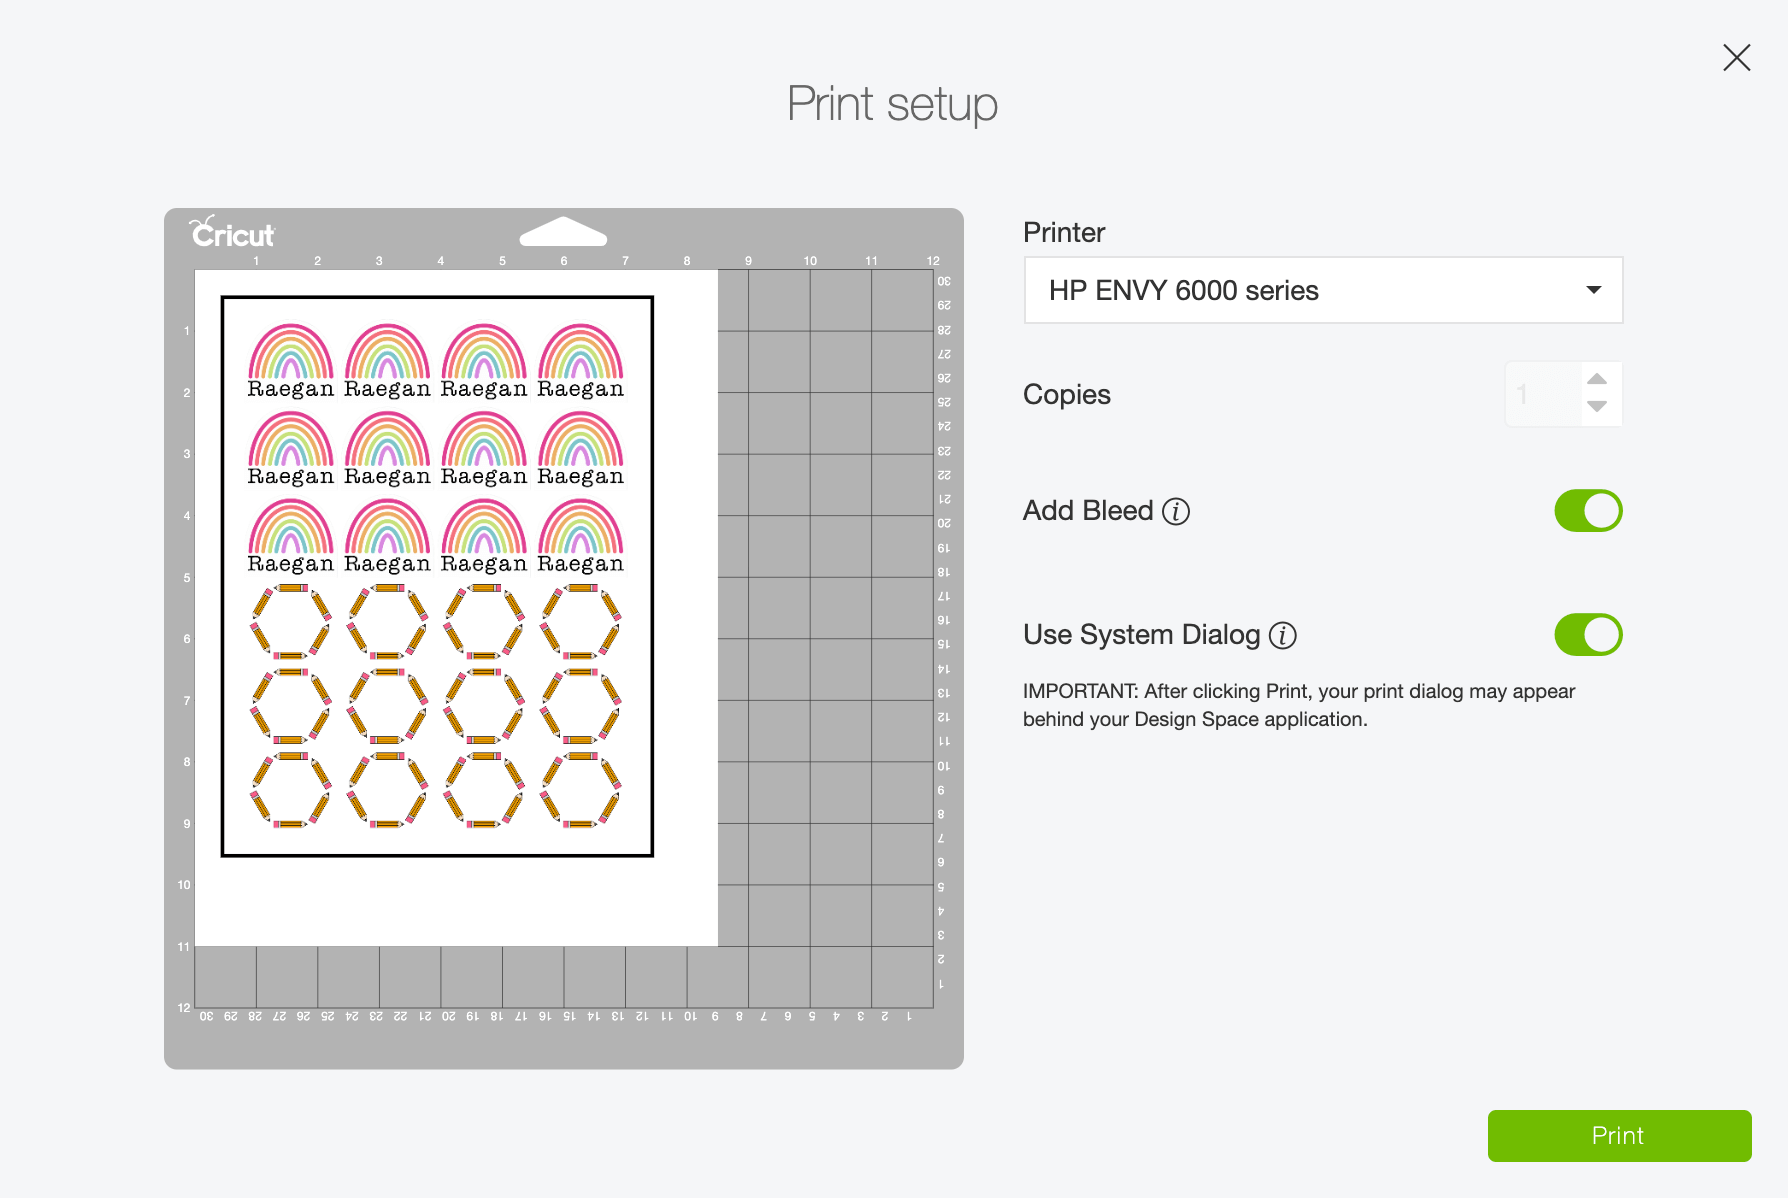
- Choose your printer, toggle Use System Dialog on and tick the Print option.
- After doing so, the print settings will be visible on your
screen.

Step 4: Set to
Cut
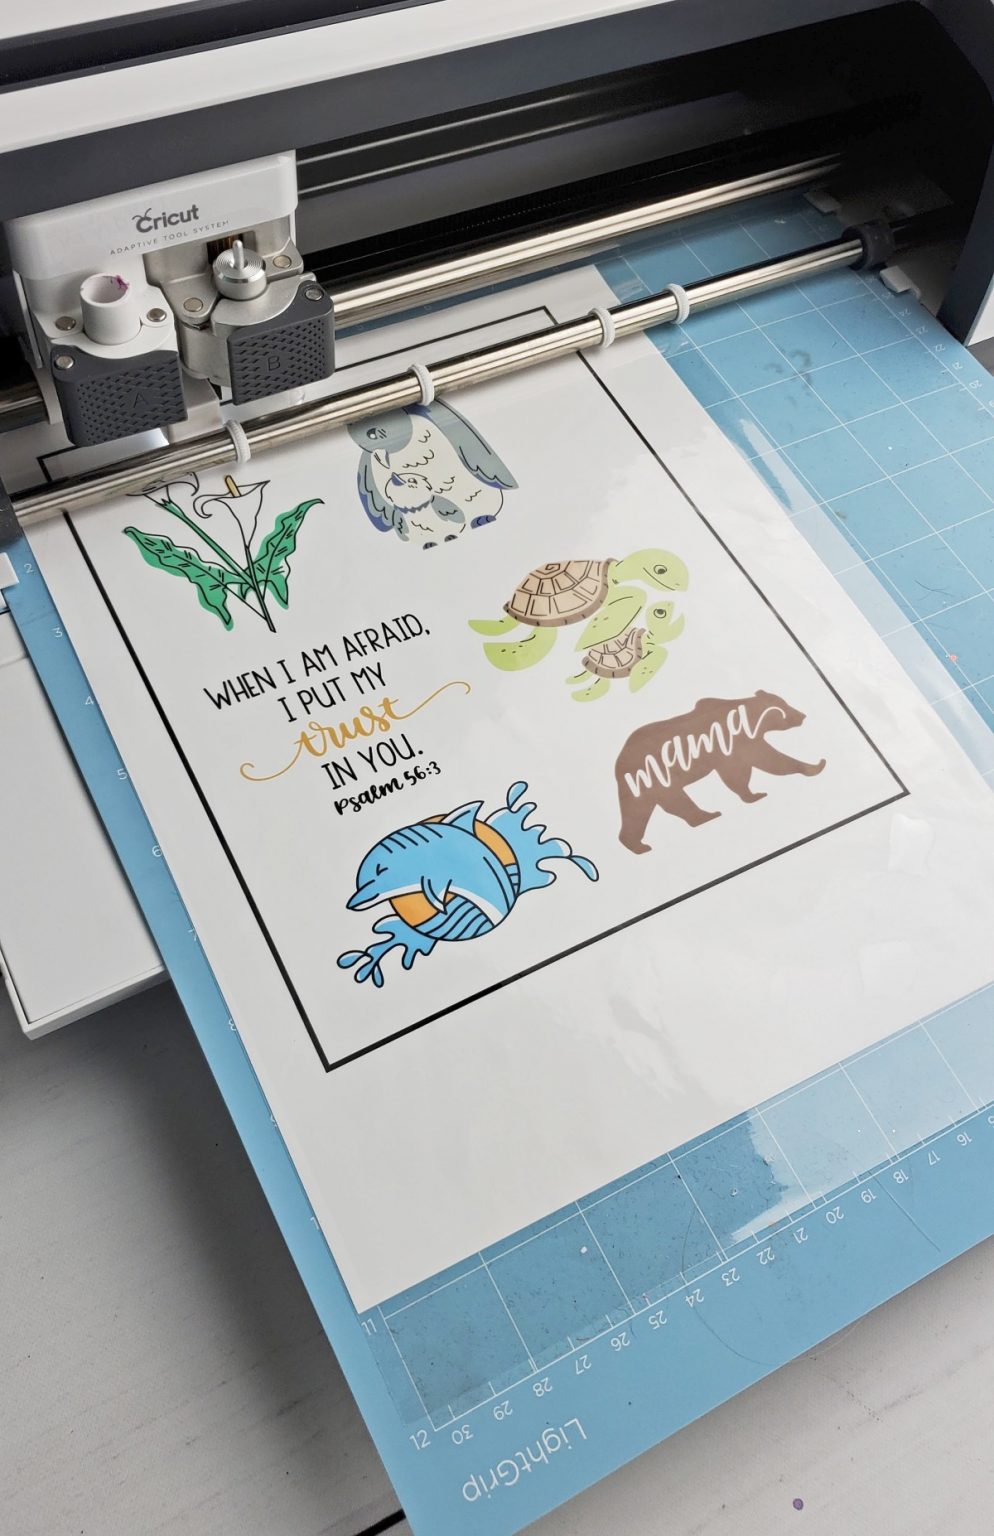
- Furthermore, set your material and pressure. Then
place the Light Grip mat on the Explore Air 2 machine.
- The machine will flash the orange light notifying
that the cutter is ready to go.
- Press the button and wait till the cutting &
printing process is going on.
- Take a new sheet (at least 3-5) and repeat the same
process.

Step 5:
Craft Labelling
- On the contrary, start weeding out the printed
design from the sheet with the basic tools set.
- Ensure that you weed out each sticker separately and
with gentle hands.
- Place the label and use the scraper tool to cover
the entire area of the object.
- Here you go! Your DIY craft is completed, and you
are prepared to carry it with you.

With the assistance
of all the above-mentioned steps, it has become quite clear that the method of
designing a custom sticker is quite easy. The crafter just needs to complete by
going through each step without skipping any of them.
Conclusion
In brief, to this
post blog, all the DIYers must have the essential supplies with them during the
printing process. The supplies include: Explore Air 2, Tool Set, Design Space,
Inkjet Printer, and Sticker sheet. It is important for all users to know how to
use those supplies and the correct method to use them. Other than how to make stickers with Cricut Explore
Air 2, the cutting machine model can also design stunning projects such as:
● Watercolor Decal.
● DIY Throw Pillow.
● Wood Serving Tray.
● Reusable Stencils.
Frequently
Asked Questions
Question: Do I Need Ink for Cricut Explore Air 2?
Answer:
With the help of computer-based software and digital content, users don’t need
cartridges while using the machine. Although, if you still have a cartridge and
want to make it usable, then link it with a Design Space account. You can
simply link it by signing in to the account, choosing Link Cartridges, and
inserting the respective into the machine slot. The cutting machine will
immediately start operating.
Question: What is the Difference Between Cricut Stickers &
Vinyl?
Answer:
Sticker papers are paper-based materials that typically come matte &
glossy. However, printable vinyl is a polymer-based material displaying a more
plasticky feel while viewing or touching it. Another difference between these
two materials is that Cricut stickers are not waterproof. On the other hand,
printable vinyl is water-resistant. Sticker paper is better suited for indoor
use, and vinyl material is best for outdoor purposes.
Question: Is Cricut a Good Option for Crafts?
Answer: As compared to other cutting machines, Cricut can be considered the
best choice for every crafter. One of the best parts of owning a cutting
machine is that it can cut most of the materials by itself. However, one needs
to take some extra precautions while creating stickers as it requires much more
attention and extra effort to get the desired result.
Visit – Cricut.com/setup
Source URL: - How to make stickers with Cricut Explore Air 2


Comments
Post a Comment